Printer Calibration for a Headrest Display
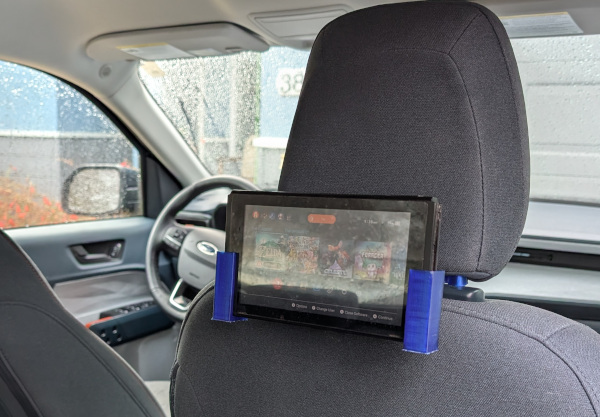
I've had the Anycubic Kobra-2 printer for about a year now. It's been fun to download and print trinkets from Thingiverse (like Nicolas Cage's head), but I've been meaning to get back to printing things that are designed to connect with other things in the real world. For example, one of the neat things Ford has done is release CAD specs to allow you to design accessories that can be plugged into the FITS connectors of their cars. While there haven't been too many designs that use FITS (other than this awesome chicket nugget holder), I appreciate that Ford is trying. While looking around for things to print for my Ford Maverick, I found that someone had made a Nintendo Switch carrier that plugged into the FITS headrest adapter. It seemed like something the kids would like so I downloaded the designs and started printing.
Calibration Problems
The first headrest adapter print came out fine, but when I went to try it out on my truck I found that the holes were a little small for my posts. Thinking it was just some residual plastic in the hole, I pushed one of the posts through its hole by twisting it through. Given that the twisting weakened the arm a little and there was no way to push the second post through, I decided something was wrong with the dimensions. I used calipers to measure and compare the print and headrest. In addition to the holes being small, I noticed that some features of the print were just a little smaller than round numbers (eg 49.3mm for the adapter block). I'm not great at Blender but some quick measurements on the original model confirmed the print was slightly smaller.
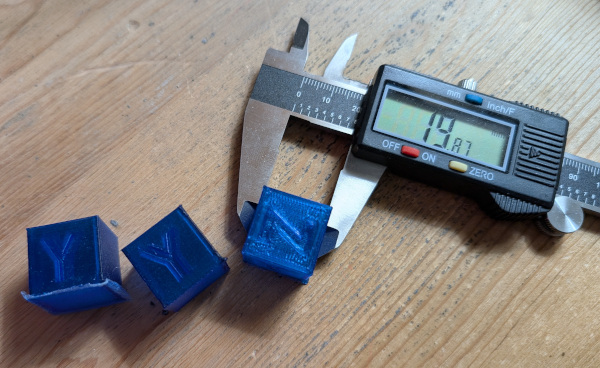
Looking around online confirmed that Kobra-2 prints were just slightly smaller than they're supposed to be. To make matters worse, the printer's menu doesn't have any settings to help you scale the steps per mm. I wound up downloading a simple calibration cube so I could manually figure out the right scaling value to use in Prusa. After several iterations, the scaling value I settled on was 100.7%. People say there are some adjustments you can have the slicer insert into the gcode stream, but for now I'm just going to plug this scaling value in on anything that needs to be sized accurately.
Making the Arms Weaker by Mistake
Since the original arms seemed to be a little thin, I loaded up the model in Blender and added a modified cube on each end to make a thicker connector. Printing went fine, but when I started pulling off the support structure I managed to rip apart the connector. I've had bad luck removing PLA supports so I printed the whole headrest again (3 hours) and tried removing the supports more carefully. No luck- the arm broke in about the same spot. I took look at it with magnifying glasses and noticed that the break was pretty clean, almost as if there was an empty spot in the arm. I went back to Prusa to look at the print and found that there was a hole exactly where I'd put the second block.
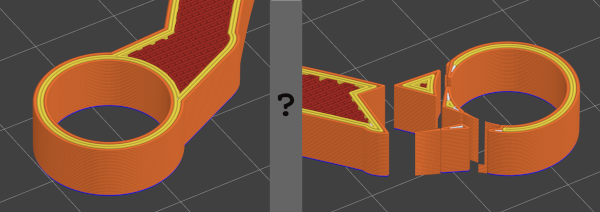
I'm not sure how I got it wrong in Blender. My guess is that when I added the block I did a binary difference instead of union. I redid the blocks, verified the arms were solid in Prusa, and printed again.
Problems with Ledges
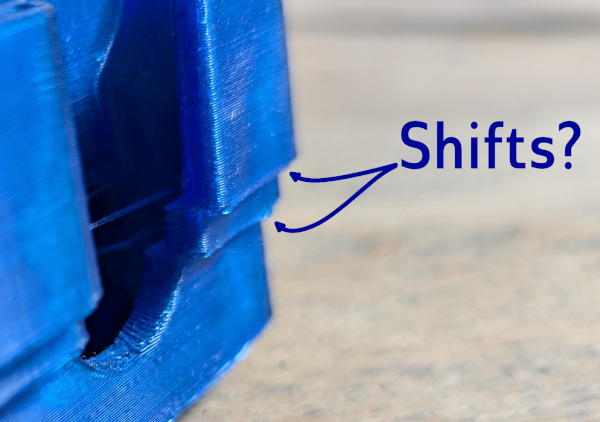
I thought I'd ironed out all the problems when I got to this point, but no- I started getting prints that had one or two major alignment problems (ie, the whole design shifted in the Y by a few millimeters). I don't care how things look, but the shifts were big enough that the switch connector didn't fit all the way into the socket. I had two failed prints with a design that tried to minimize supports and then another that was vertical. I hadn't had problems like this before, so I suspected that some Z adjustments I'd made earlier were to blame. Resetting the Z height to the value where I'd started fixed things.
Finished
So there, after many missteps I successfully printed both the switch holder and the armrest attachment. Was it worth it? Well, no, not really, if the end goal was just to print things from the web. The headrest part took at least 8 tries before I got it right (and at least 3 tries for the holder), each one taking a few hours to grind away. Prints are easy to setup, but that's a lot of wasted plastic.
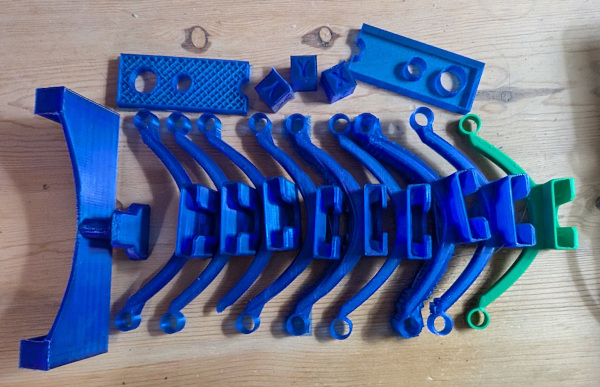
However, I learned a lot from seeing this print all the way through. I now know: designs need to be scaled by 1.007x to be accurate, check the layers there aren't unexpected holes in a design; each first layer island increases the probability of an island popping off and causing failure; and being too high in the Z dimension can lead to shifts that won't happen until later in the print.